The kinetic sculpture is combination of two spinning plates with complementary designs over a glowing back panel. My sculpture was based around a squid/sea monster. I made one disc to represent the squid's body and tentacles (Figure 1), and another disc consisting of a mirrored version of the tentacles. This combination creates a flowing feels to the tentacles when the discs rotate in opposite directions. The primary colors to be used in the back panel's lighting are blue and green to match the ocean.
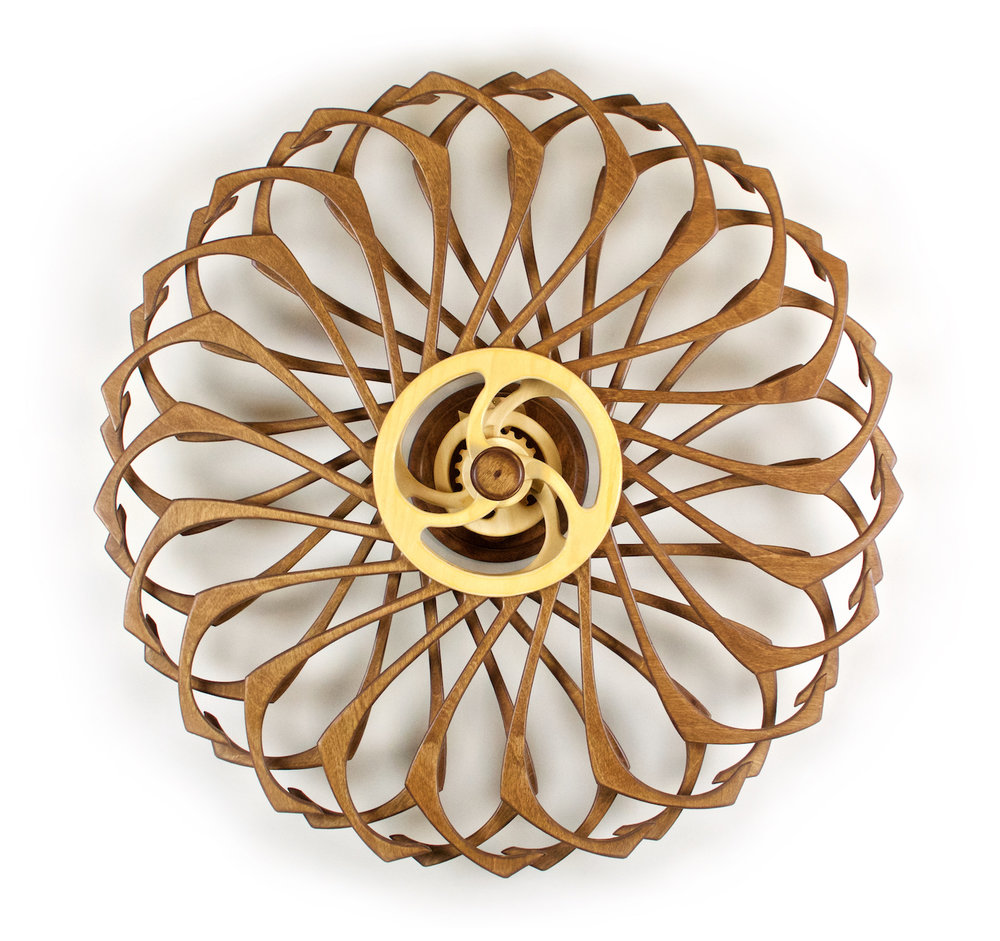
The combination of spinning discs was an inspirateion from the artist David C. Roy (Figure 2). Using his kinetic works as a reference, I drafted multiple designs that created interesting patterns and visual tricks. After comparing all my designs I chose the squid, as I found the animal to be interesting, and the illusion of flowing tentacles to be unique.
During the Art rotation I also built upon my soldering skills by learning how to solder new components, such as motors and transistors.


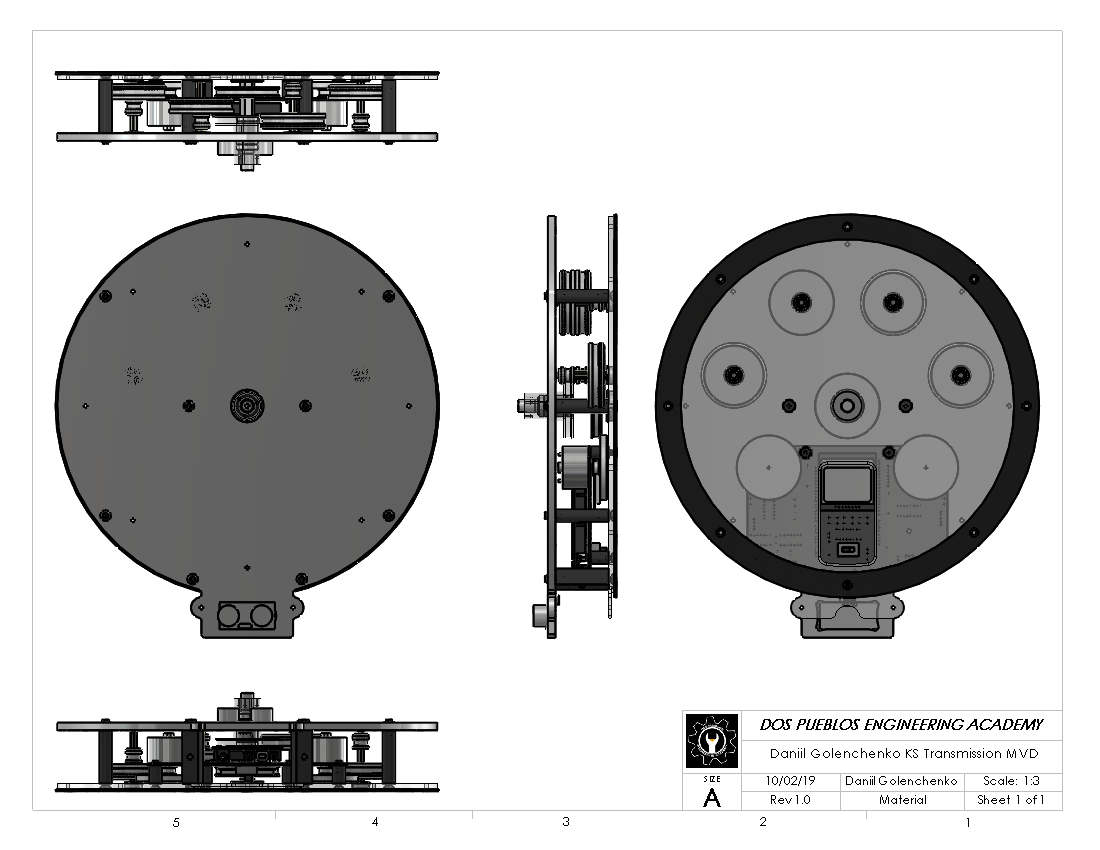
In the machine shop I manufactured base spacers for the sculpture out of plastic. These were made on the lathe, where I cut plastic to length and drilled proper holes; I also threaded the holes in order to use screws to fasten the spacers to the clear discs. I used the spacers in the overall assembly of the motor/gear holding backbone of the sculpture (Figure 3). The clear discs had to be deburred around its radius and inside its screw holes. Furthremore, I assembled the entire base that holds the pulley system and discs (Figure 4). This part consited of laser cut steel plates and plastic spacers that I made on the mill.


In the physics rotation I learned about the way gears and pulley systems function. I inspected real life examples, such as a bike gear system and previous years' kinetic sculpture pulley systems. I learned about the importance of gear size and rotation on the speed and force transfer of the system. Furthermore, I learned about Beakman's Motors in order to understand at a deeper level how the motors within my sculpture functioned, which required knowledge about Magnetism and Electrostatic Forces. Although I had learned about thsee in my AP Physics courses, this serves as a good refresher and as an application of the knowledge.
Using SolidWorks I was able to create a preview of my sculpture. I assembled motors, spacers, and pulleys to create a backbone for the sculpture and the entire pulley system making the discs spin (Figure 5). I also created my disc pattern as a sketch, making sure to not have sharp edges by deburring and regulating the minimum thickness, as to not create weak spokes. Furthermore, I used SolidWorks to create a mini animation, which previewed the way the discs would look when spun in opposite directions. I was also able to fine tune the speed at which the discs rotated in order to achieve the best optical experience.